yarn

Beautifying Bird Nests - A Simple Craft Idea

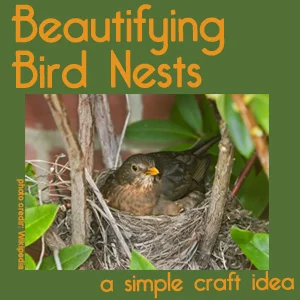
I'm excited to include some of my most favorite simple craft ideas in an upcoming guide for a book with an awesome nature theme. One project that I particularly like and will include in the guide is Beautifying Bird Nests (Not that birds need much help in creating their masterpieces, mind you.). This craft is most effective when created in the early spring, when birds are busily building their nests. This project is as simple and simple can be. Kids love it. Birds benefit, too.

bird+nest+1.JPG

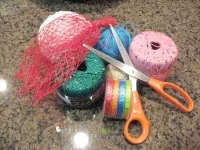
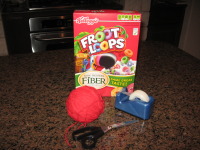
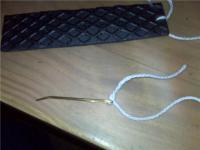
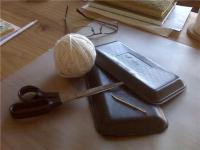
The supply list is short and cheap! All you need to gather is a mesh produce bag, scissors, and an assortment of thin ribbon, yarn, and string.

bird+nest+2.JPG

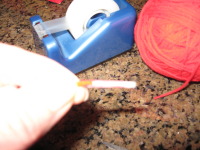
Cut ribbon, yarn, and string into short strips about 3 or 4 inches long. 

bird+nest+5.JPG

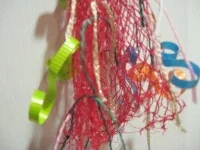
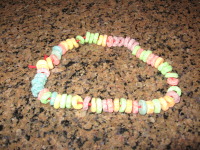
Loosely insert bits of ribbon, yarn, and string into the produce bag mesh. Once complete, hang mesh bag outdoors near a tree. Wait and watch. Soon birds will snitch some of the strips to use as construction material for their nests! Truly! I've seen this happen.  

Who would've thought enhancing nature could be such fun!

Simple Saturday: Bird Necklaces

Oh, how our feathered friends will love you for making these. They truly will.

Remember what we need to make Bird Necklaces? Yarn, tape, scissors, and the oh-so-delicious-and-not-very-nutritious Froot Loops?

(I can't tell you the last time I have eaten Froot Loops. Too long, pal. Way too long. When I opened this box that amazing fake fruit smell assaulted my nose and made my mouth water like a summertime sprinkler. Yum! Yum!)

Your sewing tip should look something like this when you're finished. Well, all we have to do is cut a piece of yarn about 12 inches long, or so. Next, make a sewing tip with a piece of tape. Just wrap the tape around one end of your piece of yarn and you're golden.

And now, simply string Froot Loops until your piece of yarn is nearly full. Tie the ends together. Snip off the excess yarn and tip. Whalla! You have made a Bird Necklace.

 (If you're lucky, like I was, a  number of the Froot Loops will be stuck together and cannot be threaded onto the string. Oh, gee...there was nothing I could do but eat those, right?)

Make lots and lots of Bird Necklaces. Then simply step outside in your backyard and hang them on your trees. Trust me. The word will spread in the bird world. You'll have tons of feathered friends nibbling at those necklaces before long.

Tweet. Tweet.

Now, if you'll excuse me, I think I might make myself a little bowl of cereal for a wee midnight snack...

Simple Saturday Prep: Bird Necklaces

Ready for one of the absolutely simplest-yet-oh-so-much-fun-to-watch-once it-is-finished Simple Saturday activities? Now, when I say simple, in this case, I really, really mean simple. And this one is especially fun to do with a bunch of people together. So gather up a crowd and let's make a winter-time delight known as Bird Necklaces.

All you'll need tomorrow is yarn, tape, scissors, and cereal that has a hole in the center. Cheerios work well, but my most favorite is Froot Loops. Not only do Froot Loops make a fabulously colorful finished product, they taste so darned sweet and good.

See you later, Tweetie.

Simple Saturday: Meat Tray Sewing Cards

Okay, I said simple and I mean it. And, as it goes with kids, the simpler the better. Wee ones love this activity. I promise you. You've got the supplies, right? The Styrofoam meat tray sans the meat, yarn, tapestry needle, and scissors? Well, let's get going then.

Cut the tray into strips. I made mine about 2 inches wide to accomodate my fat fingers. You can make it thinner, if you'd like. Size up your child's fingers and then go for it.

If you look closely you can see that I poked a row of holes into the Styrofoam strip. You might want to make your pokes a bit bigger. Once again consider the child and their developing dexterity. Make larger ones if they are wobbly sewers. Make them smaller if you'd like to challenge them a little bit.

Tie one end of the yarn to the sewing card and tie the other to the tapestry needle. Securing the yarn to the needle assures that the concentration focus will be on the act of sewing and not on keeping the dad-burned yarn on the needle. Voice of experience here. Heed it.

And then sew! In and out. In and out. Over. Under. Over. Under. Fill that card with yarn. Pull it out and sew it all over again.

I know what you're thinking. That's it? Yes. That's it. In our harried, plastic, expensive, scattered adult world we forget that what kids need most is simplicity. Pare things down. Relax. Enjoy a simple moment with your lovely child and sew.

Have simply sensational Saturday and I'll see you next week.

Simple Saturday Prep: Something Beneficial for Little Goblins

Nothing in this milk-chocolatey-wonderful world is more endearing than to observe tiny hands at work. Those busy little dimpled knuckles, chubby mini fingers...delicate, yet so purposeful in their discovery. Scenes like this stop me in my tracks. I deeply admire a wee one's deliberate focus as they hone their dexterity. Plus, they're so darned cute!

Saturday we will be developing the strength of those tenacious fingers, lengthening that concentration span, and spark a little bit of independence. The simple activity is designed for children from say...three years old and up. You're going to need a couple of styrofoam meat trays, yarn, scissors, and a tapestry needle.

Now I scavengered my needle out my knitting bag (I'm the worst knitter that ever walked this planet. Yet I keep at it. A glutton for punishment, I guess). You can pick up some plastic ones at a craft store, if you'd like. Just remember to keep it simple, cheap, and FUN!

See you tomorrow.